
At ConSol we use GitLab as our central Git server and I am quite happy with its functionality. Lately, I have been playing around with GitLab CI with the objective of finding out if we can use it instead of Jenkins, our current CI server of choice.
Since most of our projects use Maven, I was particularly interested in setting up a simple Maven build job.
To cut a long story short, yes, I would use GitLab CI in my next project. We’ll later see why, but first I want to give a quick walkthrough of GitLab CI.
To be able to try it out for yourself you need:
Master role in a projectGitLab follows an agent based approach, i.e. everywhere you want to run a build you need to install a so-called GitLab Runner. You can install as many GitLab Runners as you like and each Runner can run 1-n concurrent builds, which is configurable.
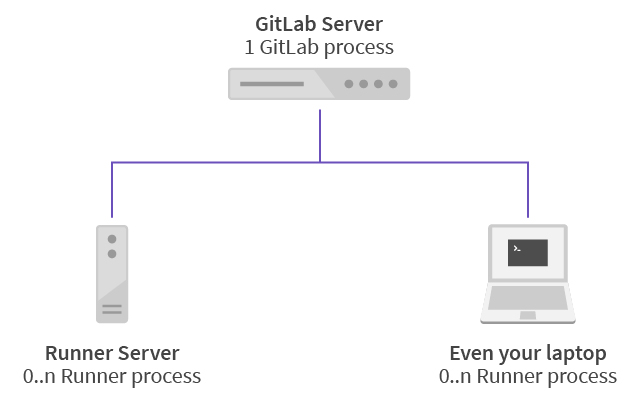
In short, you need two things to get started with GitLab CI (apart from GitLab itself):
.gitlab-ci.yml in you project root, which contains the command line instructions for your build.gitlab-ci.yml ConfigurationI have created a public GitLab project where you can find the code: gitlabci-maven.
Note If you fork the project you will not fork the Runners and must provide you own Runners.
For a simple build this is as easy as it can be, little more than the Maven command itself. The following contents are everything you need to run a Maven build:
.gitlab-ci.yml
maven_build:
  script: mvn verify
If the CI definition is so short you need to rely on a whole lot of implicit definitions you say? Of course, there’s a lot of magic involved!
First of all, GitLab hosts your code, so it obviously knows how to clone it. Hence, we don’t need to add any git repo related configuration.
Secondly, we assume that mvn (and thus also a JVM) is installed (and on the PATH) on our target system.
A more sophisticated and explicit .gitlab-ci.yml could look as follows (with comments explaining the meaning):
# These are the default stages.
# You don't need to explicitly define them.
# But you could define any stages you want.
stages:
  - build
  - test
  - deploy

# This is the name of the job.
# You can choose it freely.
maven_build:
  # A job is always executed within a stage.
  # If no stage is set, it defaults to 'test'.
  stage: test
  # Since we require Maven for this job,
  # we can restrict the job to runners with a certain tag.
  # Of course, it is our duty to actually configure a runner
  # with the tag 'maven' and a working maven installation
  tags:
    - maven
  # Here you can execute arbitrate terminal commands.
  # If any of the commands returns a non zero exit code the job fails.
  script:
    - echo "Building project with maven"
    - mvn verify
For a full specification of all possible commands, see the GitLab CI YAML documentation
Now that we have our .gitlab-ci.yml set up we need a GitLab Runner.
Runners are written in Go and are available for several platforms including Linux, Windows, MacOS, FreeBSD, and Docker.
See GitLab documentation on how to install a GitLab Runner.
Verify your installation:
$ gitlab-runner list
Listing configured runners                          ConfigFile=/etc/gitlab-runner/config.toml
As you can see there are zero GitLab Runners configured, so lets create one (as root, otherwise the runner can not be installed as service)
NOTE You can get the necessary parameters for the registration in your GitLab project under Settings > Pipelines > Specific Runners
# gitlab-runner register
Running in system-mode.

Please enter the gitlab-ci coordinator URL (e.g. https://gitlab.com/):
https://gitlab.com/
Please enter the gitlab-ci token for this runner:
abcdefghijklm
Please enter the gitlab-ci description for this runner:
[build-n]: build-n-shell
Please enter the gitlab-ci tags for this runner (comma separated):
maven, java, ubuntu
Whether to run untagged builds [true/false]:
[false]:
Whether to lock Runner to current project [true/false]:
[false]: true
Registering runner... succeeded                     runner=HzUGN97U
Please enter the executor: parallels, virtualbox, docker+machine, docker, docker-ssh, shell, ssh, docker-ssh+machine, kubernetes:
shell
Runner registered successfully. Feel free to start it, but if it's running already the config should be automatically reloaded!
Shortly after you have registered your runner it shows up in the Settings > Pipelines > Specific Runners view.
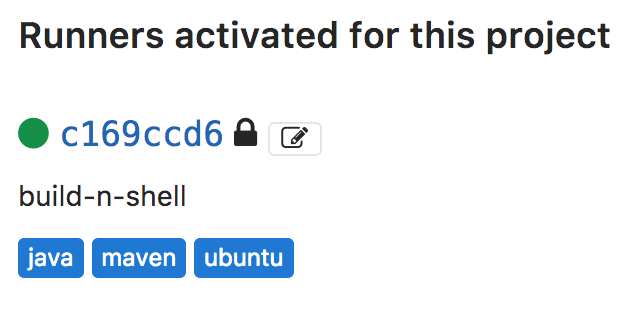
Now the Runner is ready to use. Every time you push a commit to your GitLab server it will trigger the pipeline. If you have only configured one Runner with the tag maven it will always run on this one. Otherwise, GitLab will randomly select an available Runner.
Each commit will have an icon attached to it representing the state of the pipeline (see also in gitlabci-maven).
running | failed | passed |
|---|---|---|
 |  |  |
An overview of all the pipelines which have been run is shown under Pipelines (see in gitlabci-maven).
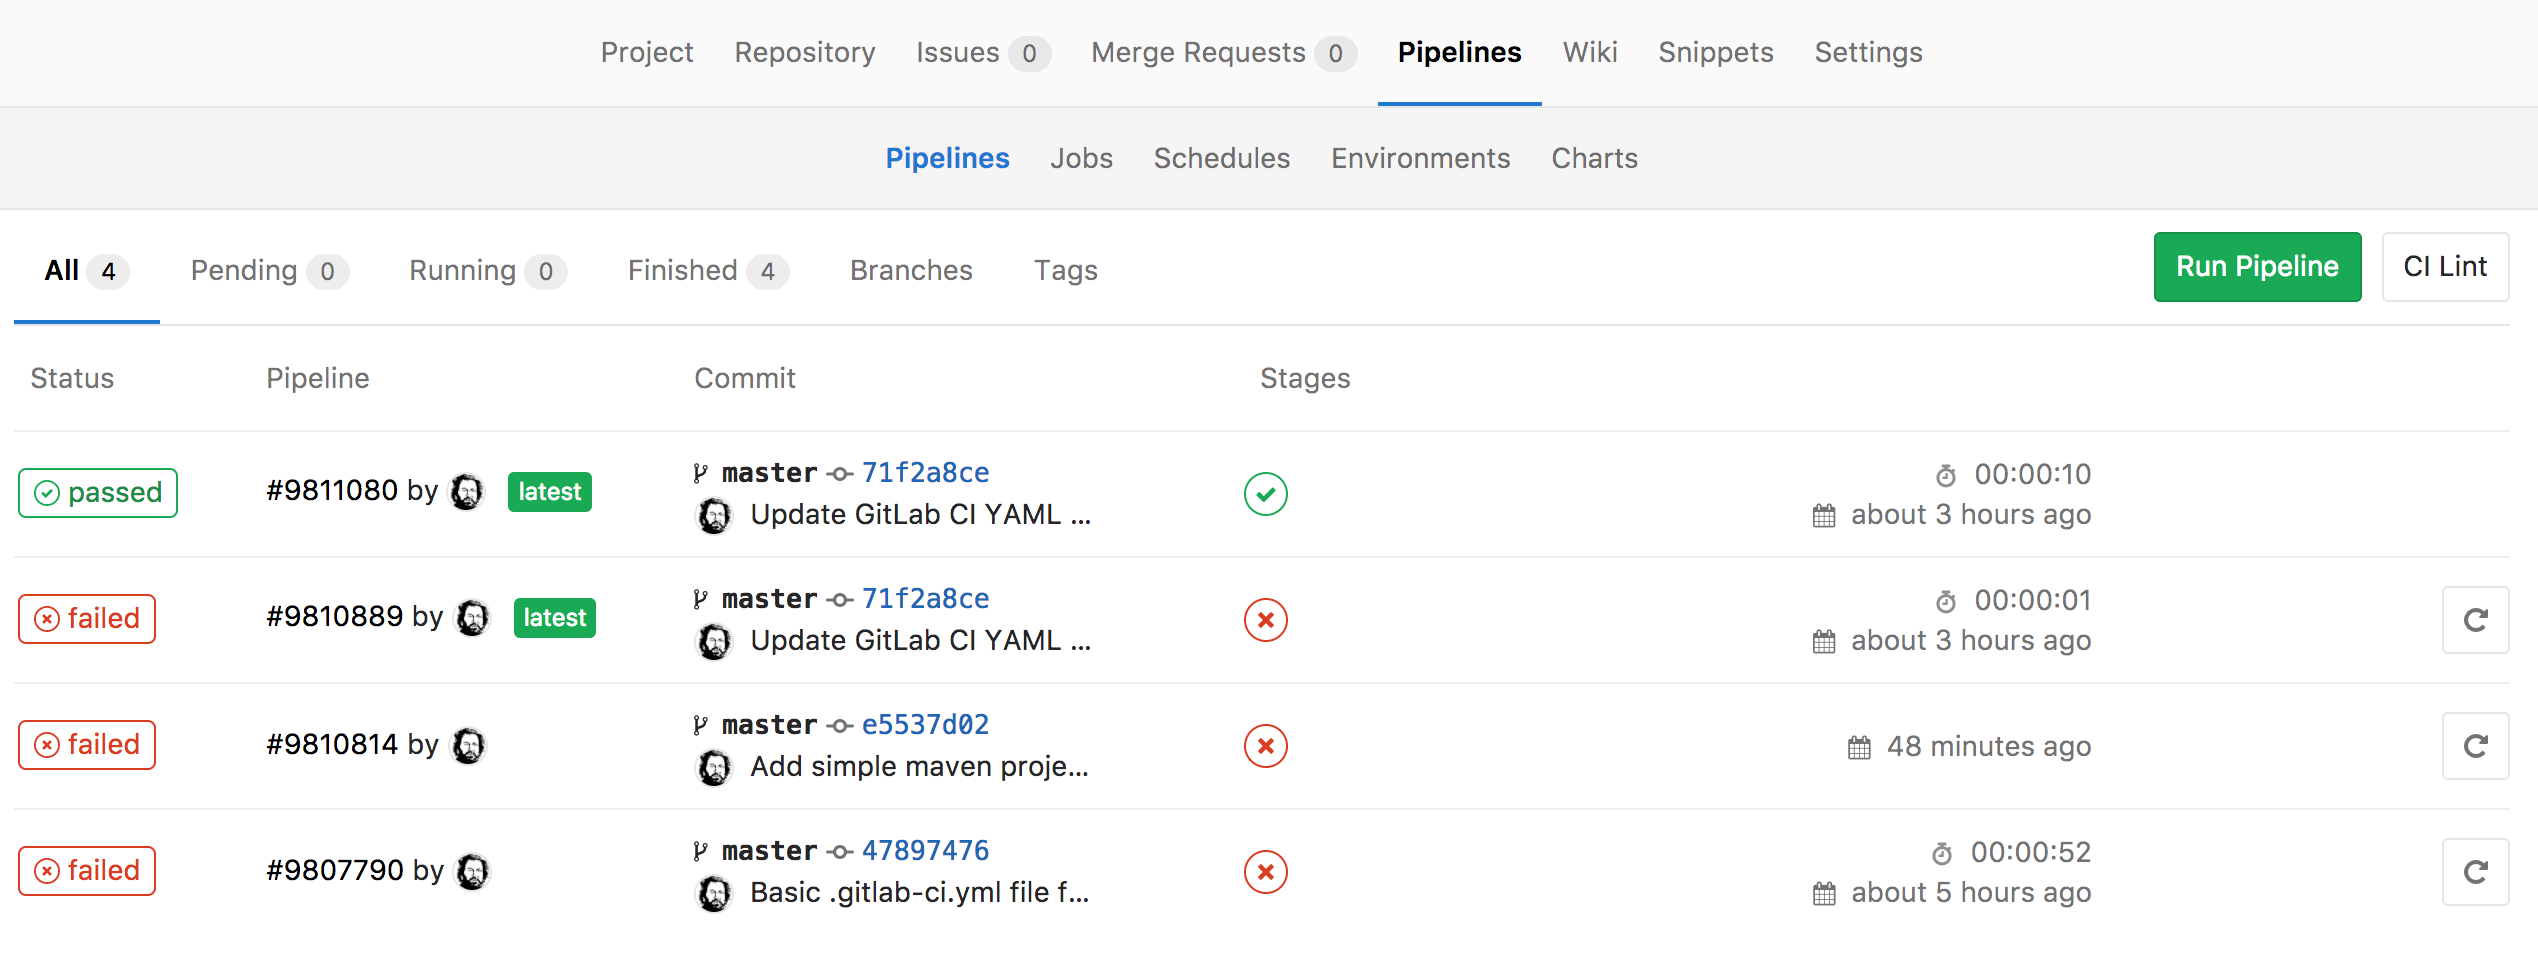
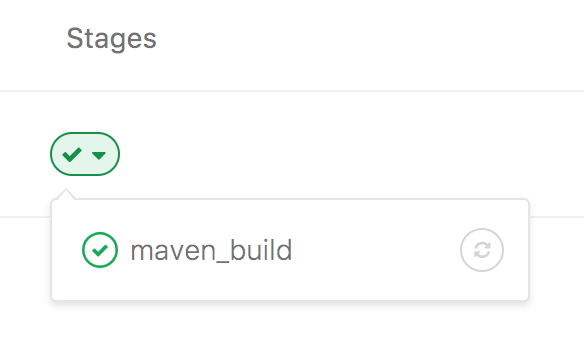
On this overview page you can also see which jobs have been run within a pipeline.
And, of course, you can inspect the logs (see gitlabci-maven).
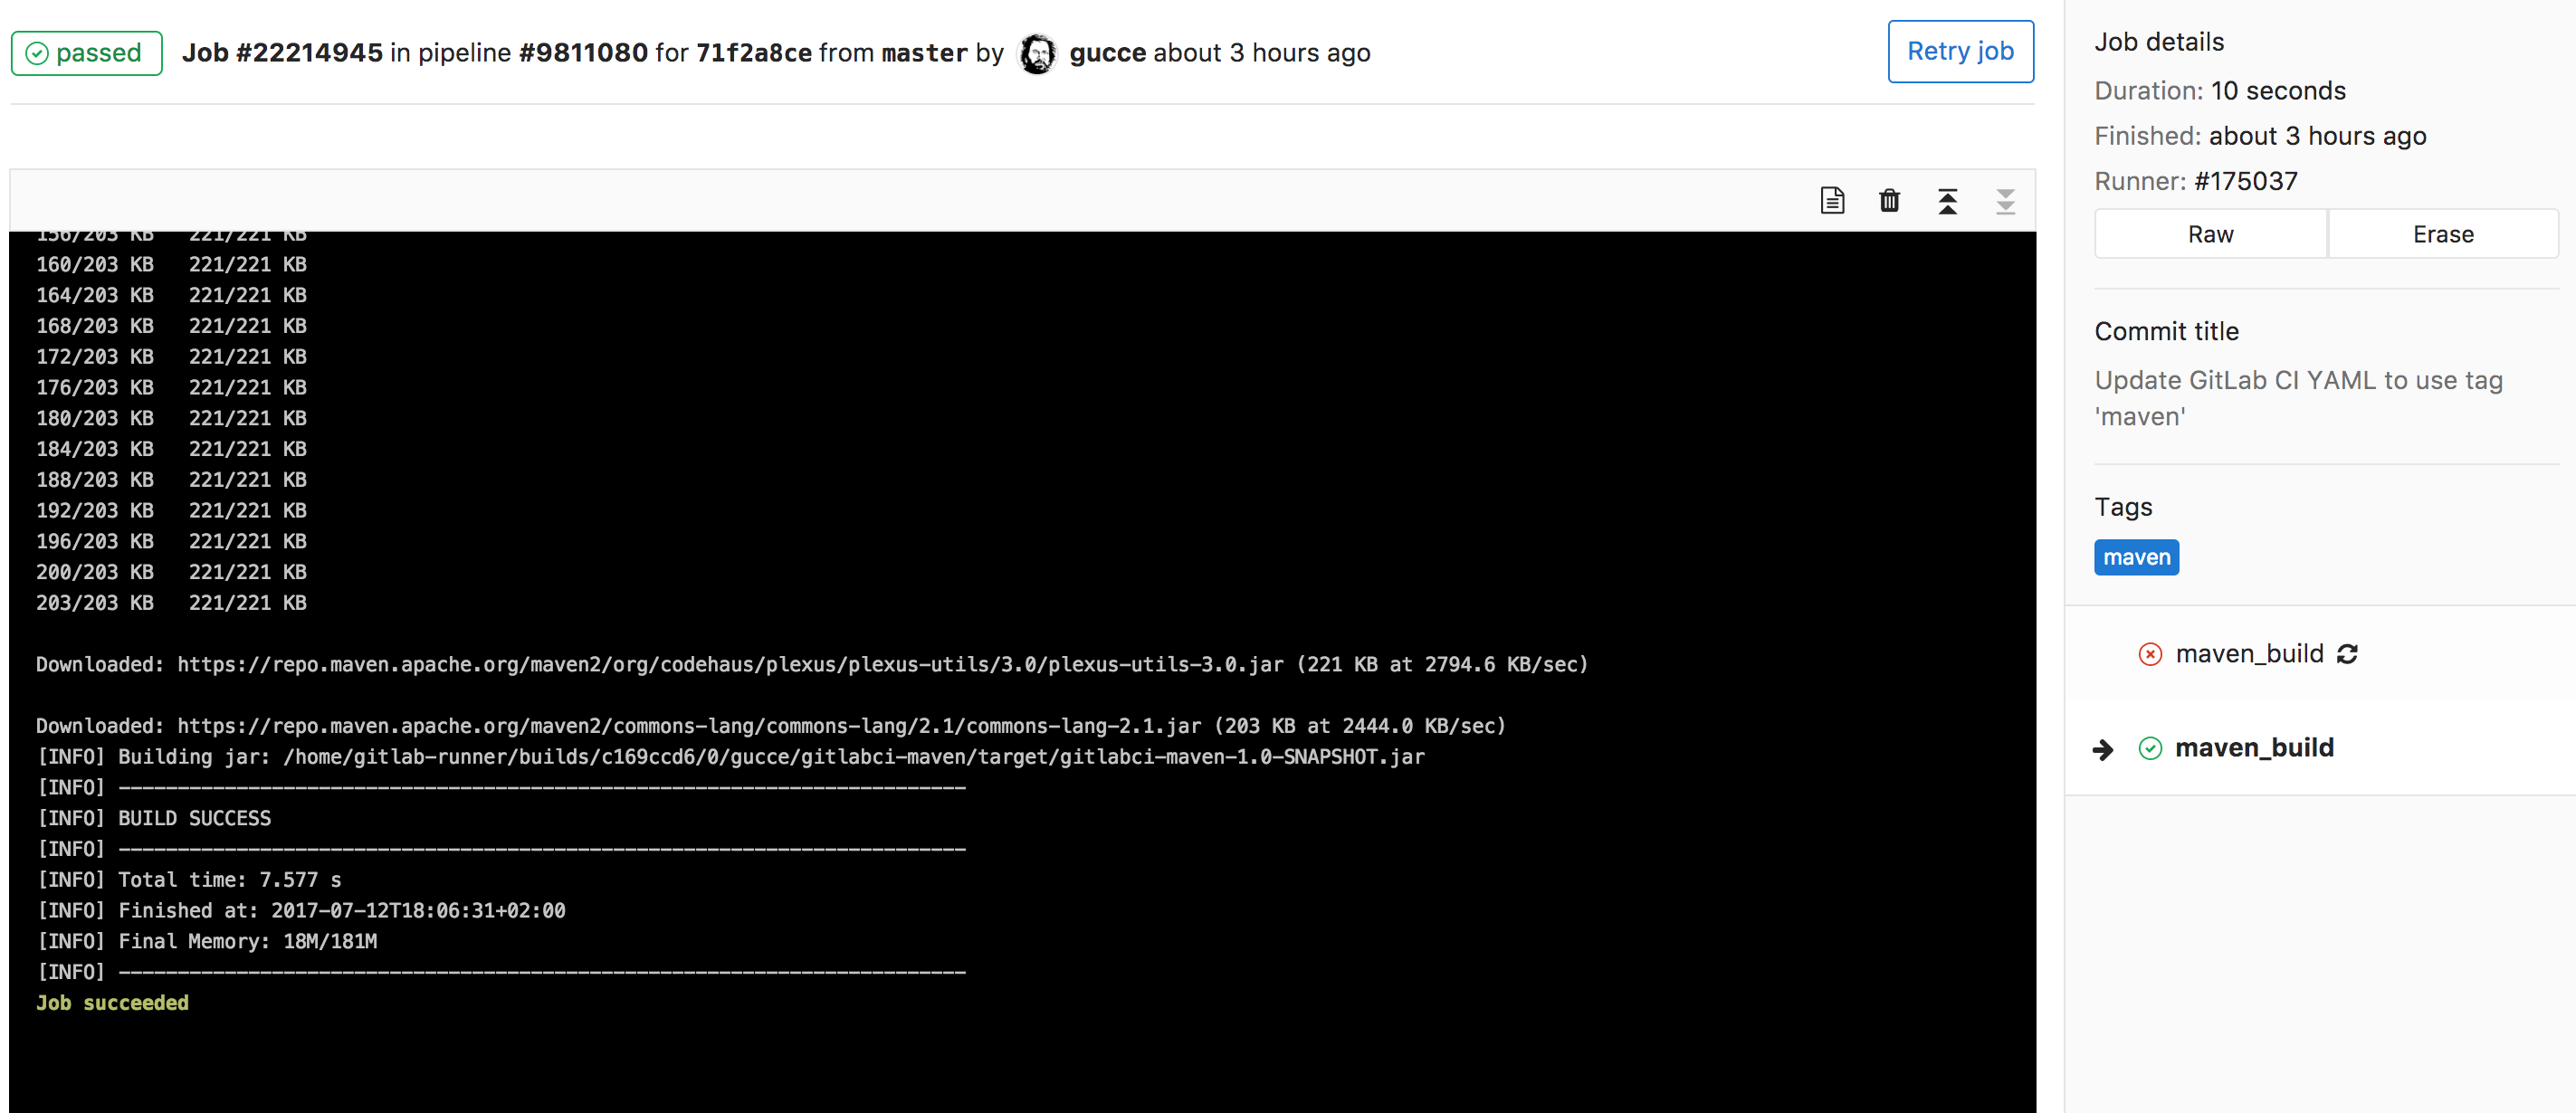
In my opinion this is neatly integrated into the GitLab UI.
That’s it, you now have a working Maven build using GitLab CI. Of course, this is only the beginning and you should checkout GitLab’s well-written documentation on their CI workflows. You might want to start with the GitLab CI README page. Also checkout GitLab’s .gitlab-ci.yml for GitLab (sorry for the tongue twister, I couldn’t resist).
Let’s now get back to my initial statement to prefer GitLab over Jenkins in my next project.
Let’s start first with its disadvantages.
And now try it out for yourself. You can fork my project gitlabci-maven if you like.